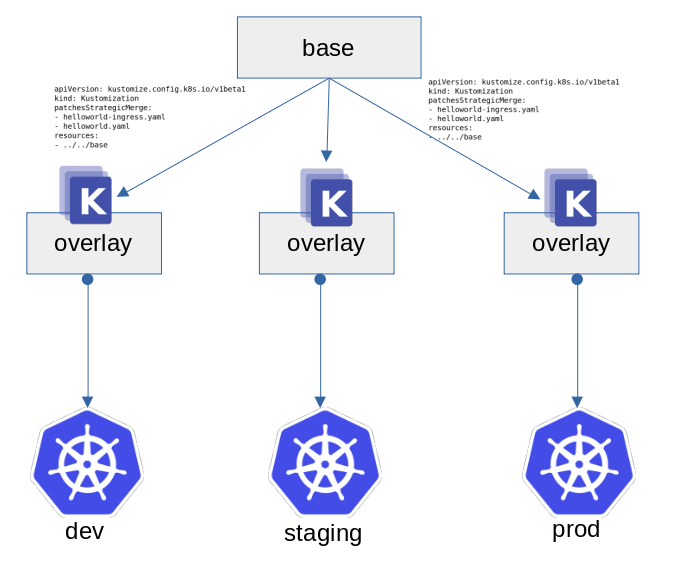
 Seal the Secret !!
2022-Aug-18

By:DALEEP SINGH
2020-Jun-24 02:06:01
When it comes to application security, code testing and fixes play a major role. We have many open source tools to enable this functionality, so that before the code is built into an application, it runs through code analysis tool and if any bug, vulnerability is identified, it is fixed and then source code is used to build the application. One such well known and accepted code testing tool is SonarQube.
SonarQube is used for continuous inspection of code quality and security of code-bases. It ensures code reliability, application security and supports over 27 various languages. You can integrate it with your existing workflow and tools to maintain quality and security.
In this article, I will take you through the installation of SonarQube, which is pretty straightforward and also guide to connect it to Postgres database, instead of using the embedded database, which is not a good production use case. First lets deploy simple SonarQube using community image from Docker Hub and access SonarQube console and run a basic test to check the source code.
I have connected to my podman host and initiating a SonarQube container using the image.

# podman run -d -p 9000:9000 --name sonar docker.io/SonarQube:8.2-community
As you can see from the output, it is exposed on port 9000, which we can use to connect to the SonarQube container named sonar in the output.

I will open a browser and connect to http://localhost:9000 to access SonarQube console.
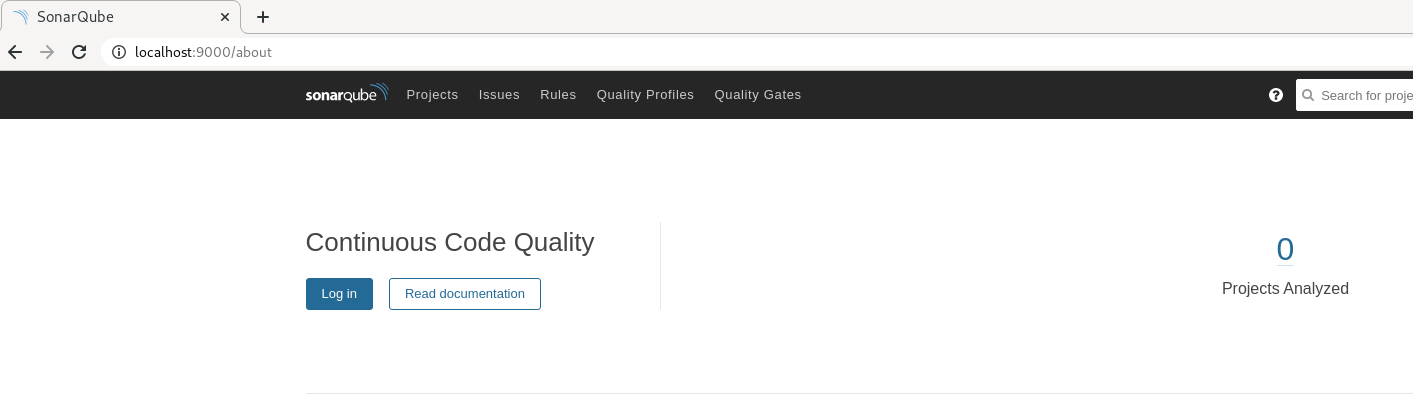
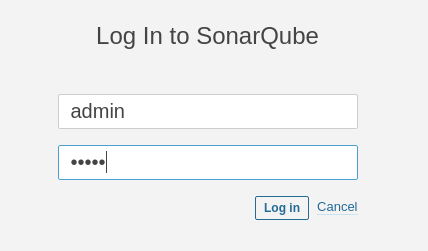
I click on 'Log in' button and when prompted for User and password, enter the default Username and Password as ‘admin’. I will later show you to modify the default credentials to secure the environment.
On bottom of the page, you would also be getting a message that “Embedded database should be used for evaluation purpose only”. This is because, we are not using any external database with SonarQube.

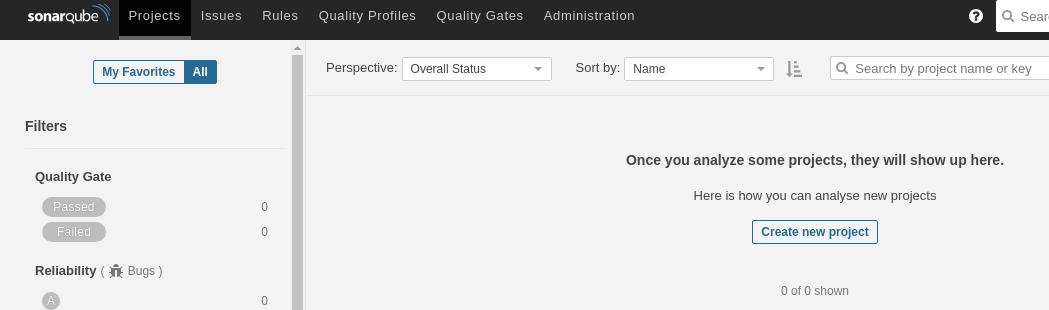
Since, this the first time, we have logged in and haven’t analyzed any source code projects, It shows a button < Create new project >. Once we have created some project and analyzed it, it will show in this screen ( we will revisit it once we have done some code check).
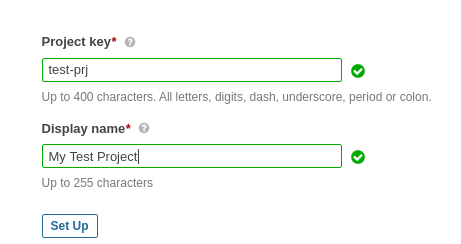
Going ahead, I click on Create new project to create a project. On prompt, I enter the unique identifier for the project, which is Project Key. I enter test-prj as my Project key and add description to it and click Set Up button.
Once the project is initialized, we need to analyze the project. Next screen prompts you to generate a token, which is used to identify you when the analysis is performed.
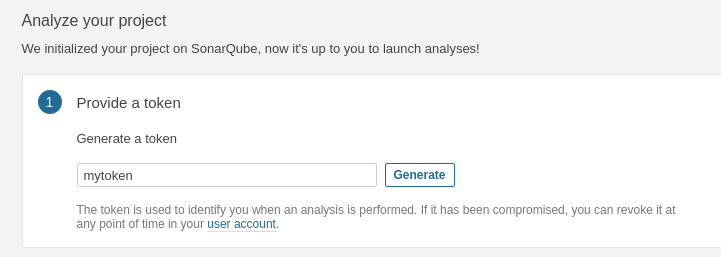
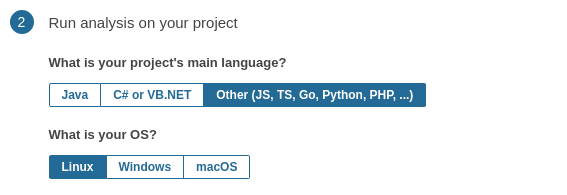
When you click Continue, it will generate the token and display. Click Continue to proceed ahead to identify the project’s main language. In my case, I am using small python source code, hence, I selected Python and OS as Linux.
Next step is to download Sonar scanner to scan the project. The scanner is available for download from https://binaries.sonarsource.com/Distribution/sonar-scanner-cli/ and you can access https://docs.SonarQube.org/latest/analysis/scan/sonarscanner/ to refer for the documentation on scanner.
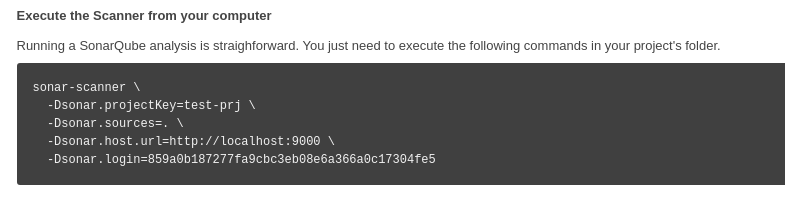
The final step is to run SonarQube analysis on your project using the commands provided in your project folder.
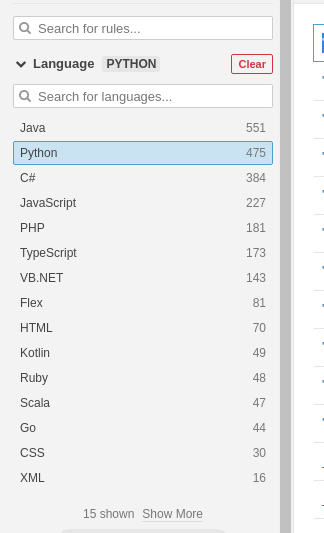
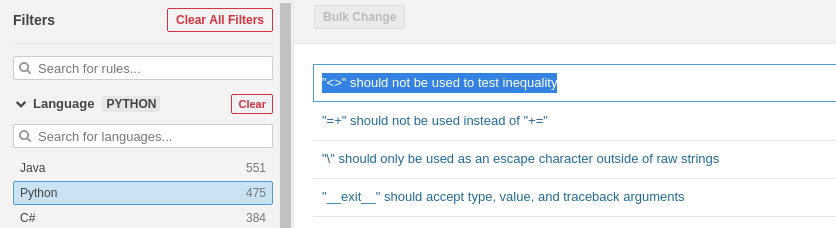
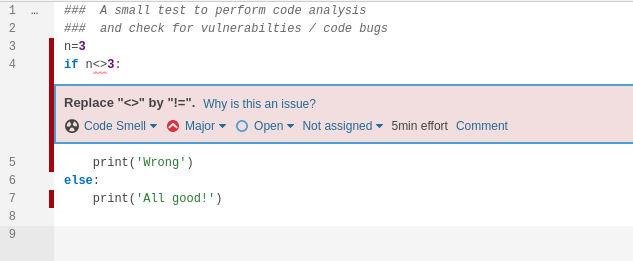
I am using a simple rule from Python rules to demonstrate the analysis of my source code. The rule I am testing is “<>" should not be used to test inequality”
. It lists all the languages supported on the left pane and once you select that language, corresponding rules are listed in the right pane.
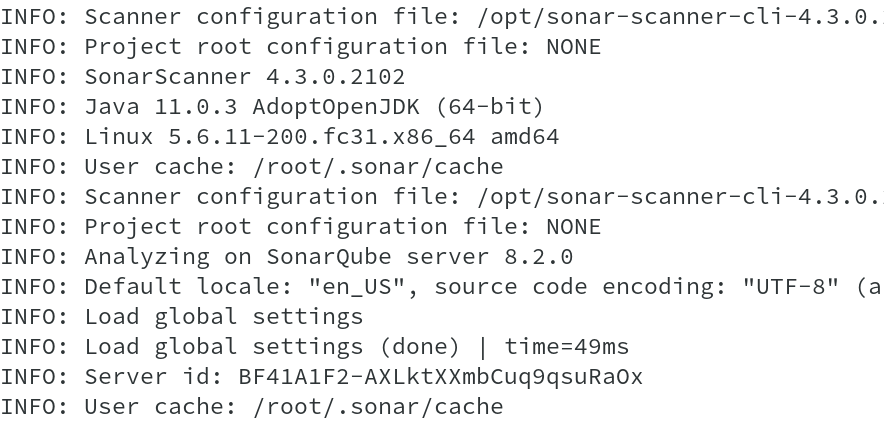
I move to the terminal to my source code folder and you can see a python file ( output appended below ).
To run the test on my project, I will use the command copied earlier from SonarQube project and run to get a code analysis. Lets run it and check the output. If you observe the command, you will find that it carries your token which you created earlier, host URL to connect to SonarQube instance and also your Project key.


Post analysis, I can either click on the URL given in the output ( http://localhost:9000/dashboard?id=test-prj )or directly go to SonarQube console and get to the project. Both take me to the same location.

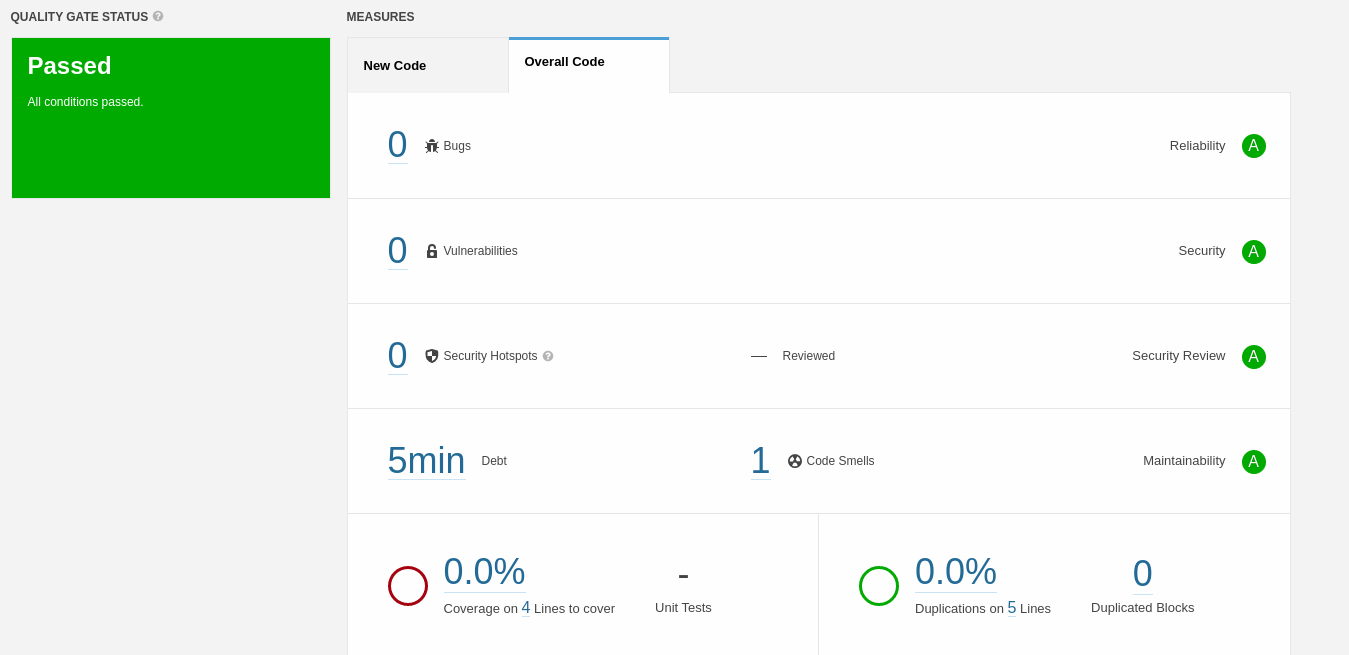
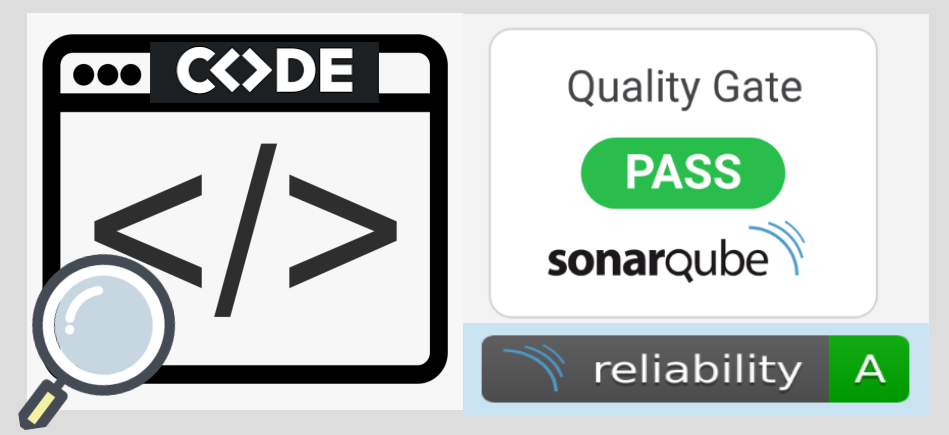
The code shows passed, howver, it also indicates that code smells. If I click on the number against Code Smells, it shows me the error, which we intentionally made to test.

If you click on “ Why this is an issue?”, it will open a new pane and give more information about the same. In this example, it says, Noncompliant Code Example.
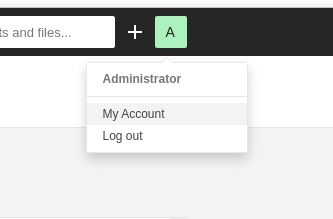
This was a small demonstration to deploy SonarQube on a container and run a basic code test. Now let me now also help you to change the password, as of now we are running with default password, which is not good security practice.
Click your Account icon on left hand top corner and click My Account. Once there click Security tab and go ahead, change your password.
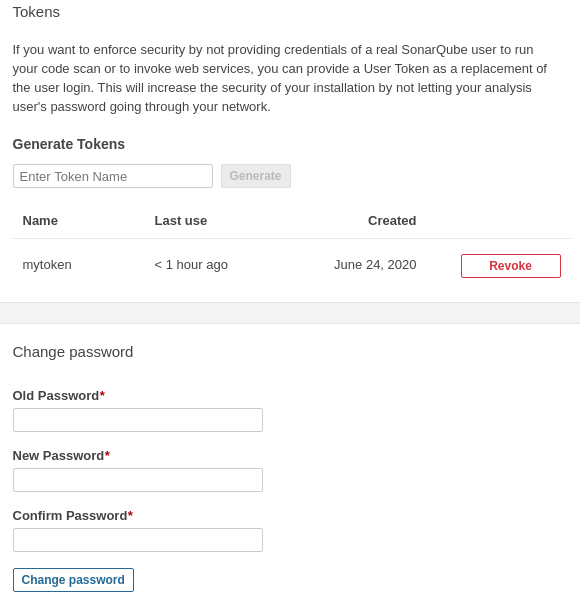
It also lists the token you have created to connect to SonarQube instance and analyze your code.
Hope this will help you to run a good code with the help of code testing tool - SonarQube.
Happy Reading !!